Laser Cutting and Dying Plastics
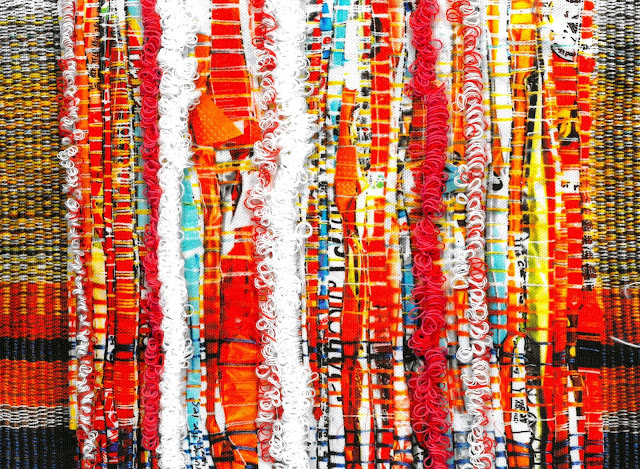
This week, I decided to really take on board my feedback and directly respond to it within my development. I created a few simplistic designs on illustrator, and translated them into the laser cutter format in order to cut into my sublimation prints. I concentrated on using repeat circular designs to create interesting skeletal-like outcomes, which respond to my structural element of my self-initiated brief- directly responding to the structural elements of urban environments.
I found the overall outcome successful, and very efficient compared to hand cutting out designs. I'm also very happy with the shapes that were cut out, and am looking forward to embellishing them onto other developments. Something to consider next time is the placement of the cut outs; perhaps they're a little too close together and would work slightly more effectively when spaced out. I also think that this process would work better on a larger scale sample with larger cut-outs. The next step is to adorn them with stitch and embellishment to create less 'flat' outcomes.


I have also began to start dying my plastic alternative embellishments with disperse dye. Initially, the process was difficult as I could never be sure whether the material is 100% plastic, therefore I had to test dying them in acid and direct dye to see how well the colour is absorbed. This was slightly time consuming, but once finding that using disperse dyes work the best in the dye baths, I started to make really vibrant outcomes that work well within my colour scheme.


Comments
Post a Comment